The Key to a Flawless Alarm Installation: Best Practices from the Field


For professional security installers, a well-executed alarm installation isn’t just about getting the system up and running—it’s about ensuring reliability, minimising site visits, and keeping customers happy. A properly fitted system reduces false alarms, improves long-term performance, and ultimately enhances the reputation of both the installer and the technology being used.
Drawing on insights from experienced engineers in the field, such as Steven Gartside, a seasoned Texecom alarm technician, this guide covers some of the most crucial aspects of professional alarm installation, highlighting common pitfalls and best practices.
1. Control Panel Placement: Getting it Right from the Start
A fundamental yet often overlooked aspect of any installation is the placement of the control panel and its components.
- Avoiding interference – Positioning the wireless panel, receiver, and transmitters away from metal structures, mains power supplies, and other sources of electromagnetic interference is essential. Texecom advises a minimum 50cm clearance from such elements to maintain optimal performance.
- Fuse spur positioning – Best practice is to keep the fuse spur separate from the aerials, ideally on the opposite side of the panel.
- Planning ahead – Taking the time to map out an installation before starting ensures devices are placed for maximum efficiency and compliance.
2. Choosing the Battery Backup
Even the best alarm system is only as reliable as its power source.
- Quality standby batteries – An alarm system needs to function reliably in the event of a mains failure. Using Texecom’s EN Calculator helps determine the correct minimum battery size for a given system.
- Reducing callbacks – Undersized or poor-quality batteries lead to premature failures and unnecessary engineer visits, increasing costs and frustrating customers.

3. Firmware Updates: A Proactive Approach to Stability
Outdated firmware can cause unnecessary faults, system glitches, and compatibility issues. Ensuring the control panel is running the latest firmware is a straightforward way to enhance performance and benefit from feature upgrades.
- Backup first – Before updating firmware, all programmed data should be backed up using Texecom Cloud or Wintex.
- Following the correct process – Disconnecting any connected devices from COM ports and using the Premier Elite Flasher ensures the update runs smoothly without data corruption.
- Cloud-based updates – For Version 5 and above, Texecom Cloud simplifies updates, allowing them to be carried out remotely.
4. Wired vs. Wireless: Understanding the Strengths of Each
Many modern systems offer hybrid capability, allowing installers to mix wired and wireless devices to suit the property and customer requirements.
- Wired Capture D20 – Ideal for garages and areas where stability is paramount. Once installed, conducting a detection coverage walk test ensures correct setup.
- Wireless Ricochet devices – For optimal performance, devices should be commissioned in place before being secured. Mesh Signal Security and Signal Strength should be verified before final placement.
- Labelling devices – Writing the zone numbers on each device (or inside its cover) makes future maintenance far simpler.

5. Correct Installation of Wireless Peripherals
Wireless alarms offer flexibility but require careful placement to function at their best.
- Micro contacts and shock sensors – For compliance with Grade 2 systems, adhesive strips alone are insufficient—countersunk screws must also be used.
- Sensitivity adjustment – Shock sensors should be calibrated based on the surface they are fitted to. Setting the sensitivity too high increases the likelihood of false alarms.
- Environmental considerations – Avoid placing sensors near excessive heat sources such as cookers, boilers, or direct sunlight.
6. Using Diagnostics for Optimal Performance
A professional installer should always take advantage of the tools available to ensure a system is running at peak efficiency.
- Ricochet Monitor – Provides real-time diagnostics of the wireless system, allowing installers to check signal strength and mesh network performance before finalising placement.
- SmartCom Pro installation – Using the QR code setup speeds up the connection process and ensures seamless integration with mobile apps for remote monitoring.

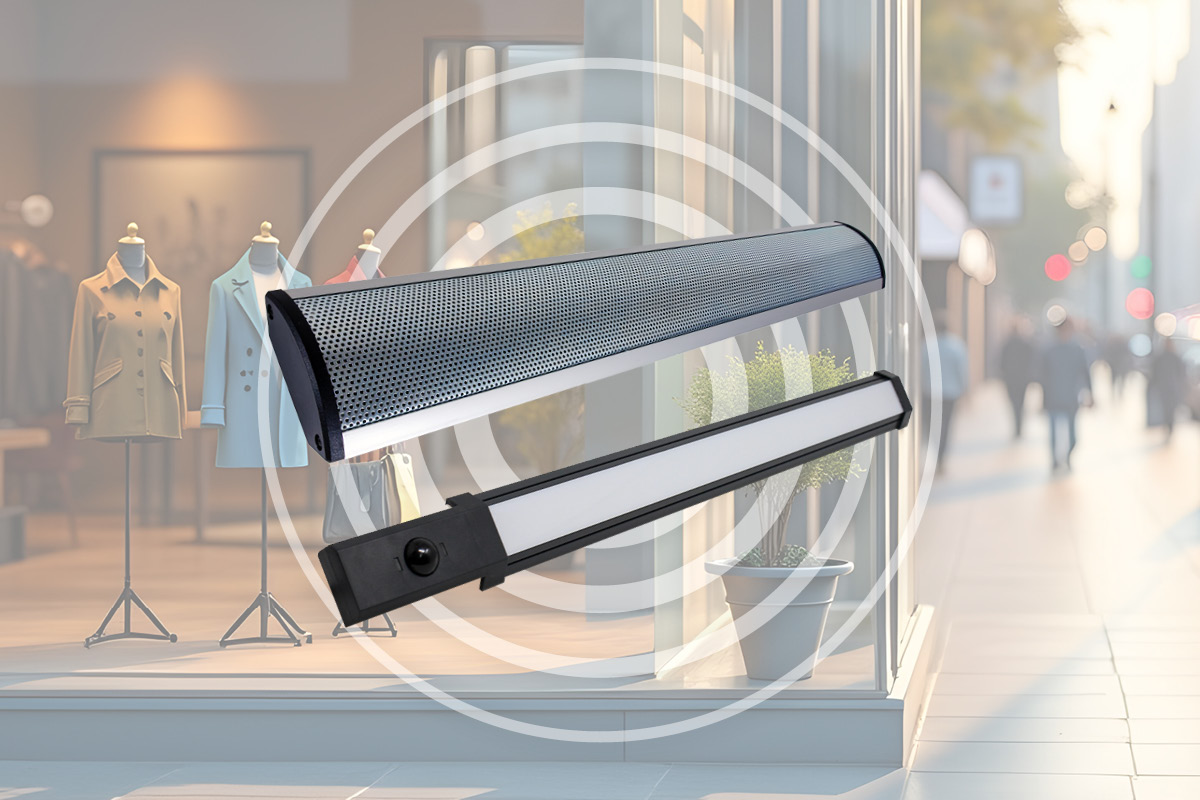
7. The Role of External Sounders as a Deterrent
An external sounder isn’t just about alerting neighbours when an alarm is triggered—it acts as a visual deterrent, discouraging potential intruders.
- The Odyssey X bell box – With backlit illumination, this model remains visible at night, reinforcing security even when the alarm is disarmed.
- Strategic positioning – Sounders should be clearly visible from the street while avoiding locations where they could be tampered with.
Final Thoughts: Reducing Site Visits, Increasing Customer Satisfaction
A well-installed alarm system isn’t just about ticking boxes—it’s about reliability, efficiency, and long-term performance. By following best practices, professional installers can reduce time spent troubleshooting faults and improve customer confidence in the system.
Fewer unnecessary call-backs mean more time spent on new installations and ultimately, a stronger business reputation.
Keep reading...

Texecom Launches VIP British Grand Prix Experience Prize Draw
Texecom Launches New D3 Series Deterrence Solutions